
How to Use a Cam Buckle Strap: The Quick and Easy Guide for Beginners

Dustin Xu
When it comes to tying down cargo, everyone usually thinks of the heavy-duty ratchet strap. But what if you are securing something fragile, like a fiberglass kayak, a carbon-fiber mountain bike, or a roof box full of camping gear? A heavy mechanical ratchet can easily overtighten and crush your valuable equipment.
Enter the cam buckle strap (also known as a cinch strap).
Cam buckle straps are the unsung heroes of cargo control. They rely on your physical pulling power rather than a mechanical lever, meaning you can only tighten them as much as your hands allow. This makes them lightning-fast to use and incredibly safe for delicate items.
If you've never used one before, or if you find yours keeps slipping, you're in the right place. Here is a foolproof, step-by-step guide on how to use a cam buckle strap correctly.
The Anatomy of a Cam Buckle
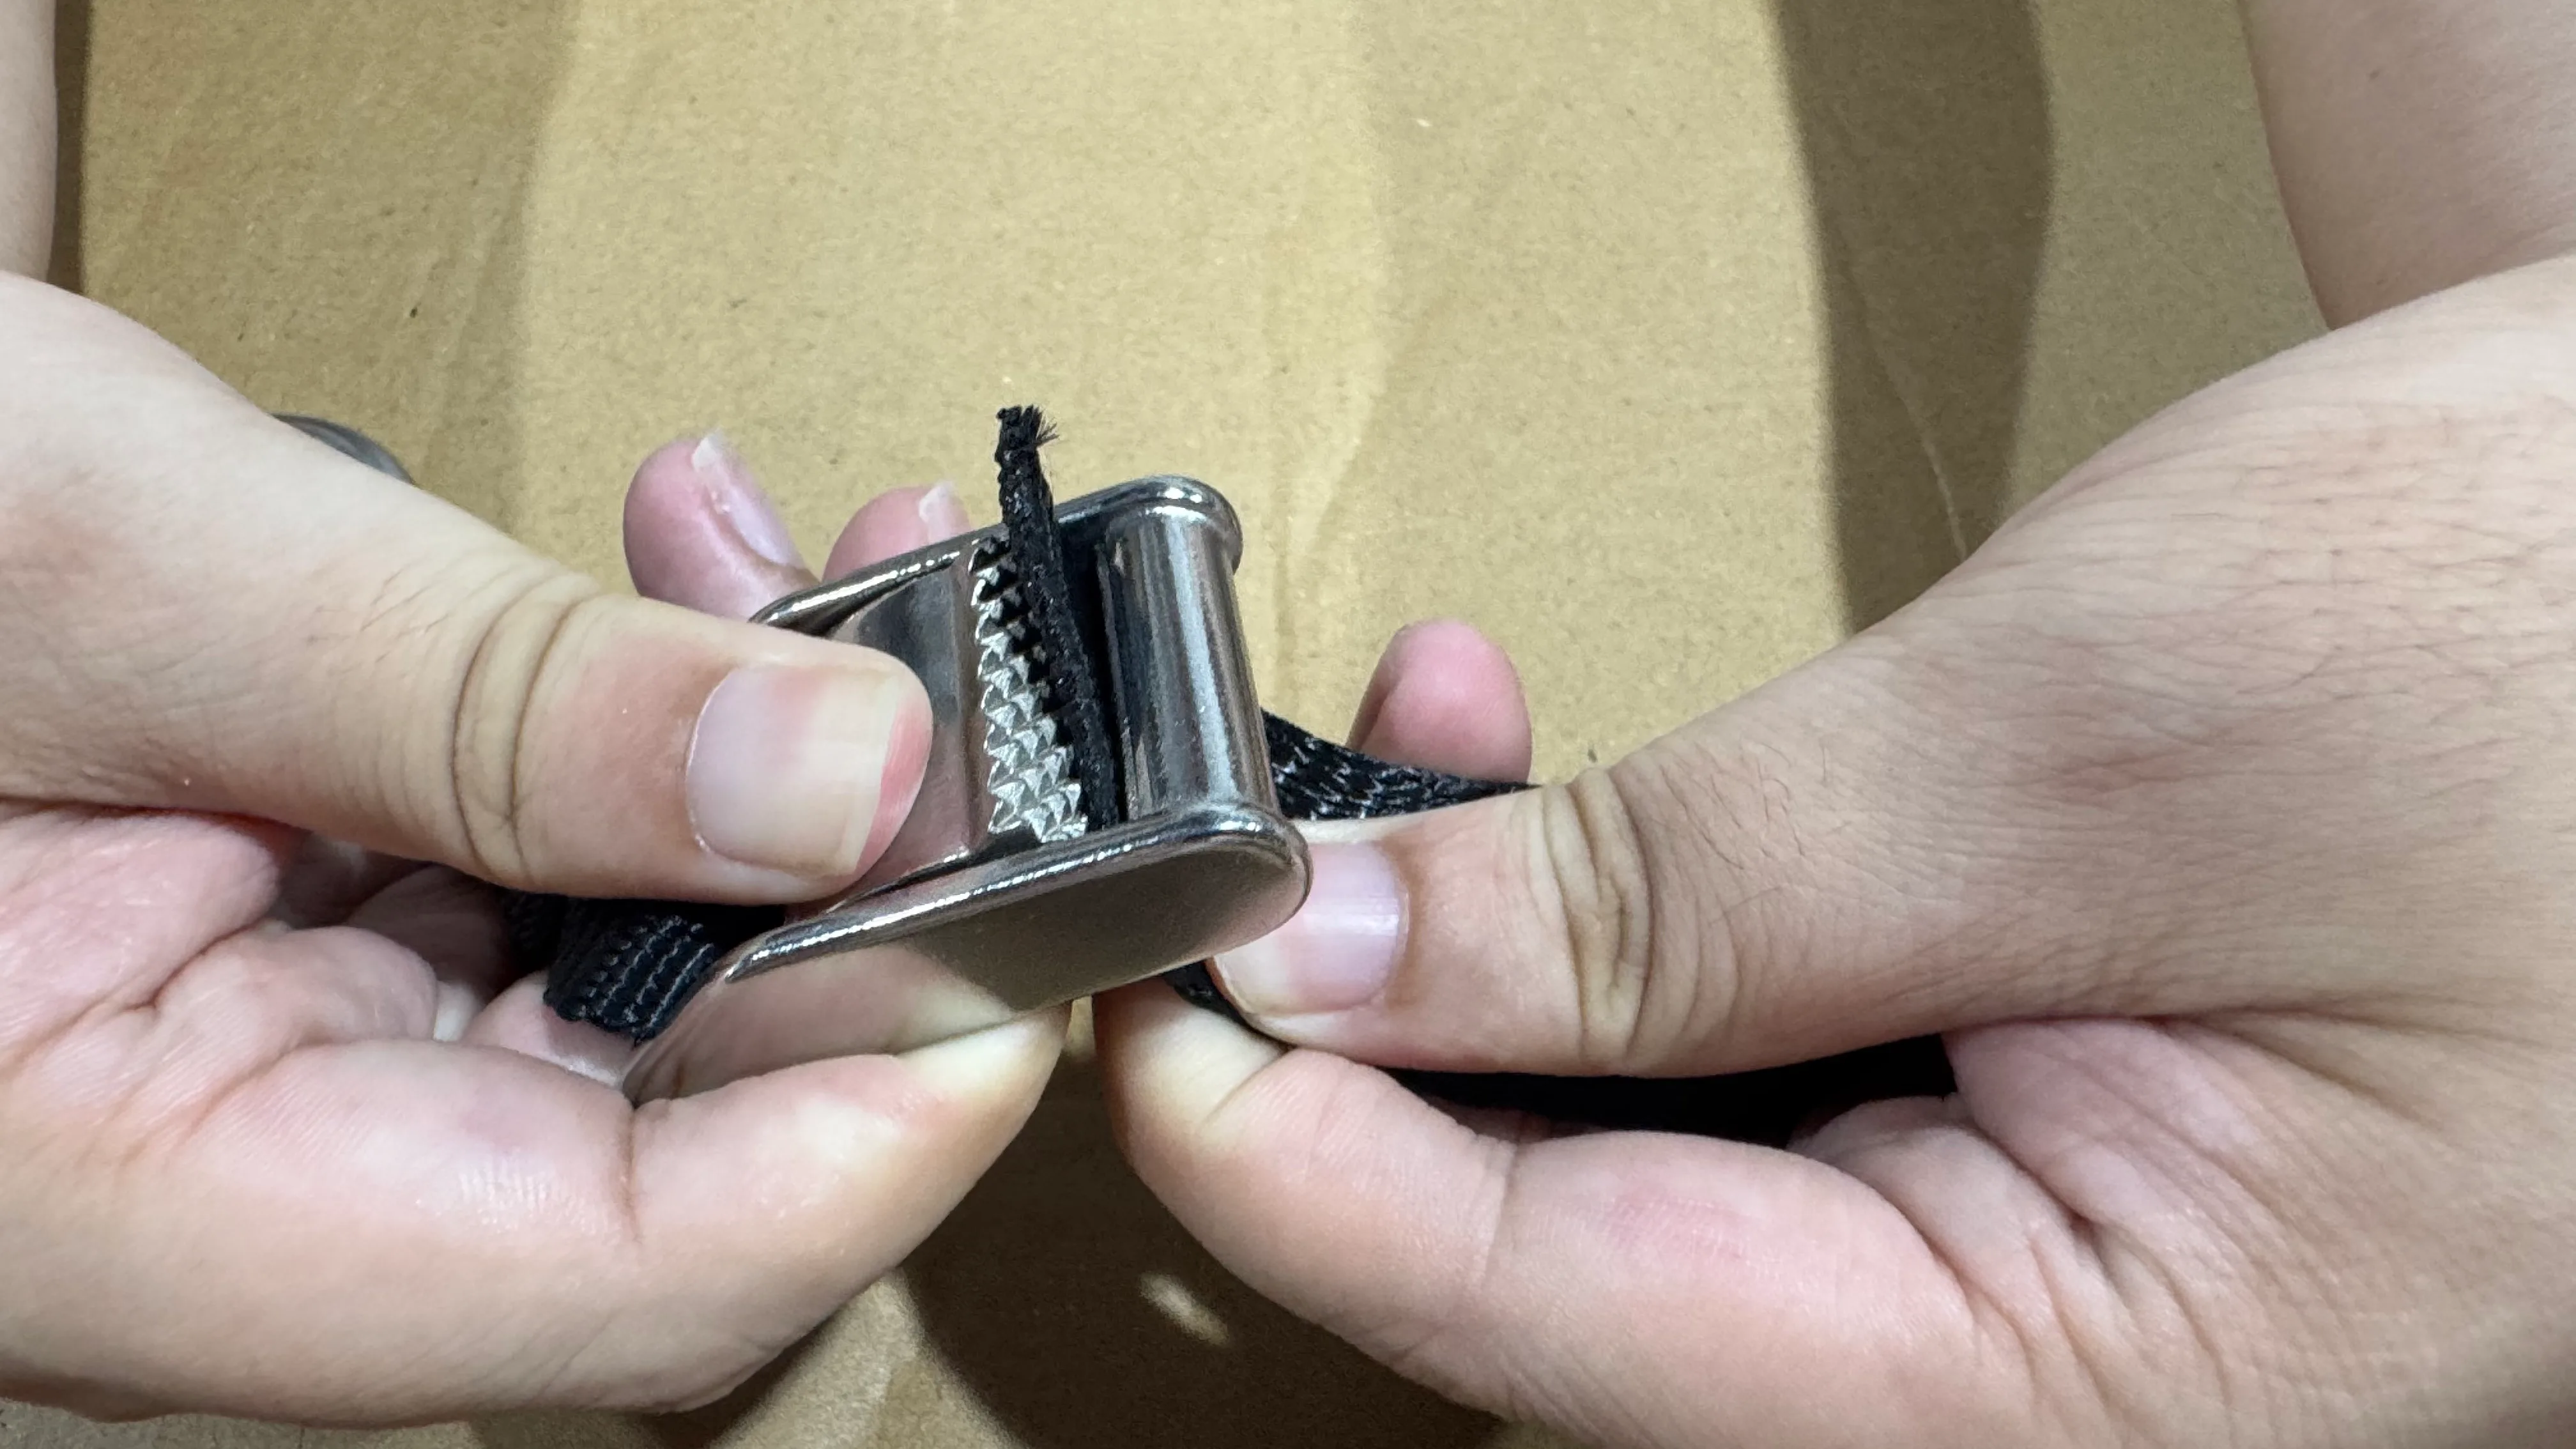
Before we start, let's look at the hardware. A cam buckle is very simple. It consists of a metal frame, a spring-loaded thumb lever (the "cam"), and a set of metal teeth inside. When you let go of the lever, the spring forces the teeth down onto the webbing, biting into it and locking it in place.
Step 1: Secure Your Anchor Points (or Loop the Strap)
Most cam buckle straps have hooks on either end, but some are "endless" continuous loops. How you start depends on which style you have.
Option A: For Straps with Hooks
- Take the end of the strap with the metal buckle and hook it securely to a solid anchor point on your vehicle or roof rack.
- Take the other end of the strap (the long tail) and hook it to the anchor point on the opposite side, laying the webbing flat over your cargo.
Option B: For Endless (Hookless) Straps
- Since there are no hooks, you will use the strap to create a continuous loop. Pass the loose tail end of your webbing under your vehicle's roof rack crossbar or directly through your anchor point.
- Throw the loose end over your cargo to the opposite side, loop it under that side's crossbar, and bring it back over the cargo toward the metal buckle.
Step 2: How to Thread a Cam Buckle Strap
This is the most crucial step. If you thread the webbing backward, the teeth will not catch, and the strap will slip completely.

- Press the Lever: Hold the metal buckle in one hand and firmly press down on the spring-loaded thumb release lever. You will see the metal teeth inside open up.
- Thread from the Bottom (Underneath): While holding the lever down, take the loose end of your long strap. Feed the webbing UP through the bottom (the back) of the buckle, passing it through the gap between the metal frame and the opened teeth.
- Pull it Through: Pull about a foot of webbing through the buckle, then let go of the thumb lever.
.webp?2026-06-10T05%3A47%3A31.634Z)
Step 3: Tighten Your Cargo
This is where the cam buckle shines in its simplicity.
- Pull to Tighten: You do not need to press the lever to tighten. Simply grab the loose tail of the webbing and pull it toward you.
- Listen for the Zip: As you pull, you will hear a zipping sound as the webbing slides past the teeth. The teeth are angled so they allow the webbing to move forward but instantly bite down to stop it from sliding backward.
- Check the Tension: Give your cargo a firm shake. It should be snug and secure. Remember, because you are pulling by hand, it won't be as tight as a ratchet strap—and that is exactly the point!
Safety Tip: Always tie off the excess webbing. If you leave a long tail flying in the wind on the highway, it will whip against your vehicle and ruin your paint job.
Step 4: How to Release a Cam Buckle Strap
Unloading is the easiest part of the process.
- Support the Cargo: Before you release the tension, put one hand on your cargo (especially if it's a kayak or surfboard) so it doesn't suddenly slide off your roof.

- Press the Lever: Firmly press and hold down the thumb release lever on the buckle.
- Pull the Webbing Out: While holding the lever, simply pull the webbing back out through the bottom of the buckle. The teeth will disengage, and the strap will instantly come loose.
Pro Tips for Using Cam Buckles
- Know Your Limits: Cam buckle straps are generally rated for lighter loads (often between 150 lbs to 500 lbs Working Load Limit). Never use them to secure heavy industrial machinery, cars, or massive appliances.

- Keep it Flat: A twisted strap loses strength and is more likely to vibrate in the wind. Always ensure your webbing is lying perfectly flat against your cargo.
- Check the Teeth: Over years of heavy use, the metal teeth inside the buckle can wear down or get clogged with dirt. If your strap is slipping even when threaded correctly, it's time to replace it.
Now you're ready to secure your gear like a pro!
Looking for high-quality, reliable tie-downs that won't let you down? Explore the full range of professional-grade cargo control gear at PioneersGears.
About PioneersGears
PioneersGears is your expert in application-driven cargo control and mobility restraints. We design and manufacture purpose-built, OEM/ODM custom tie-down solutions for industry-specific transport and securement scenarios.